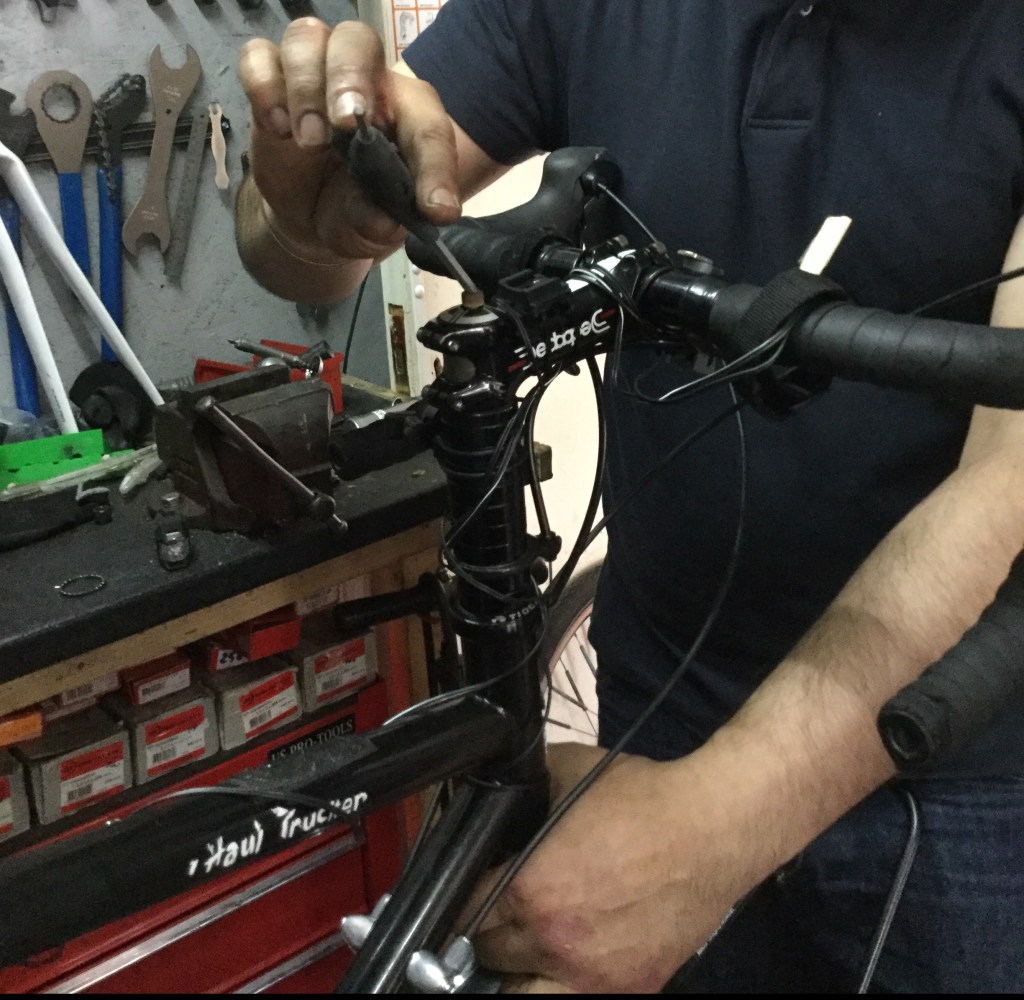
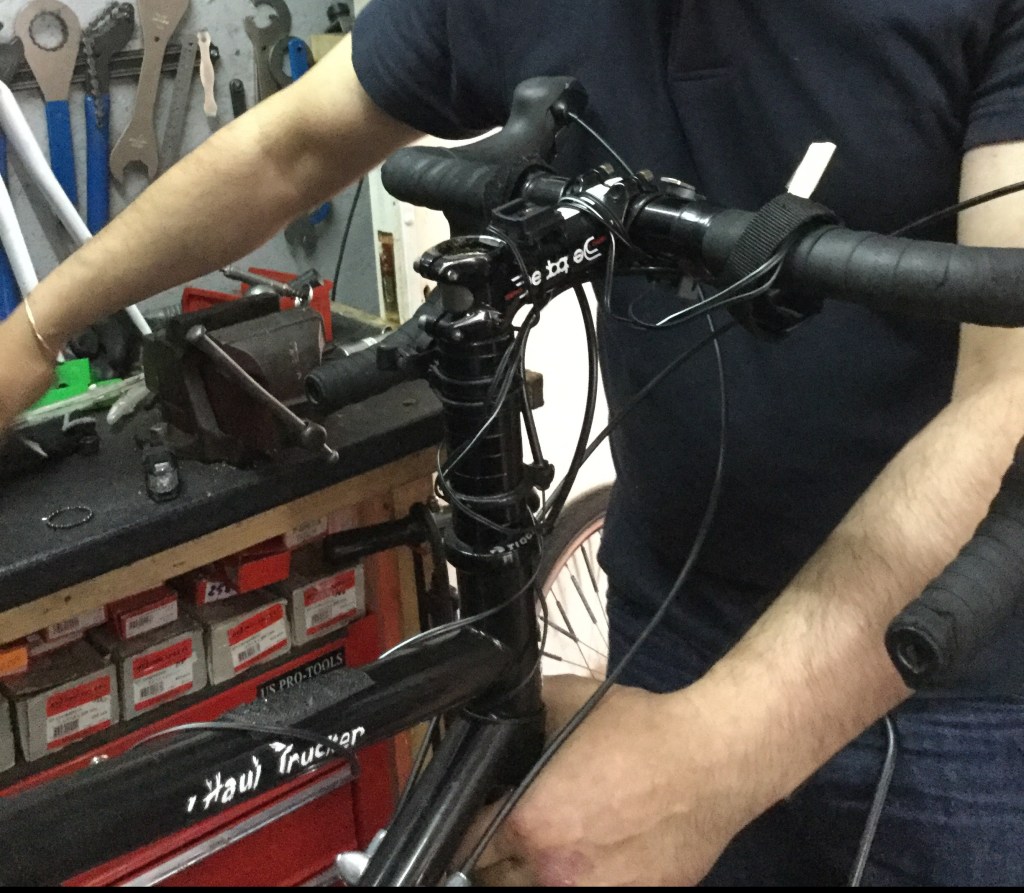
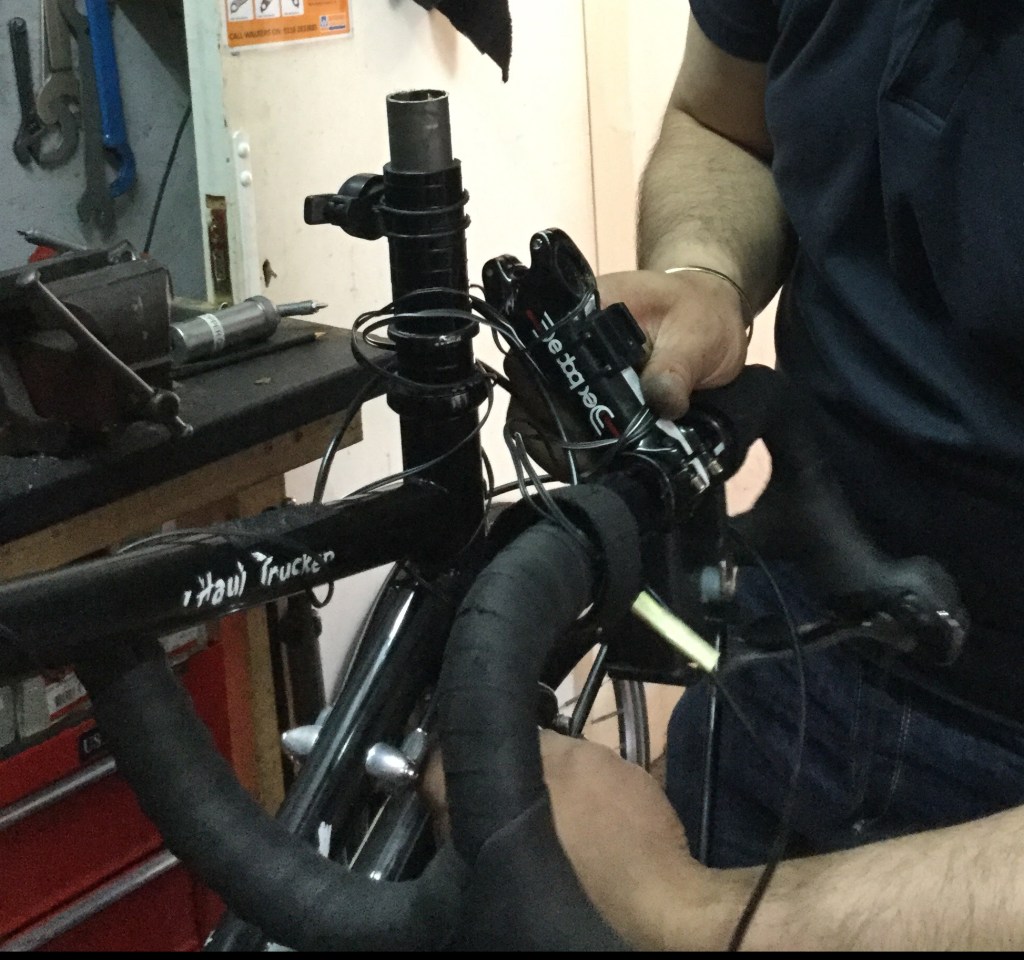
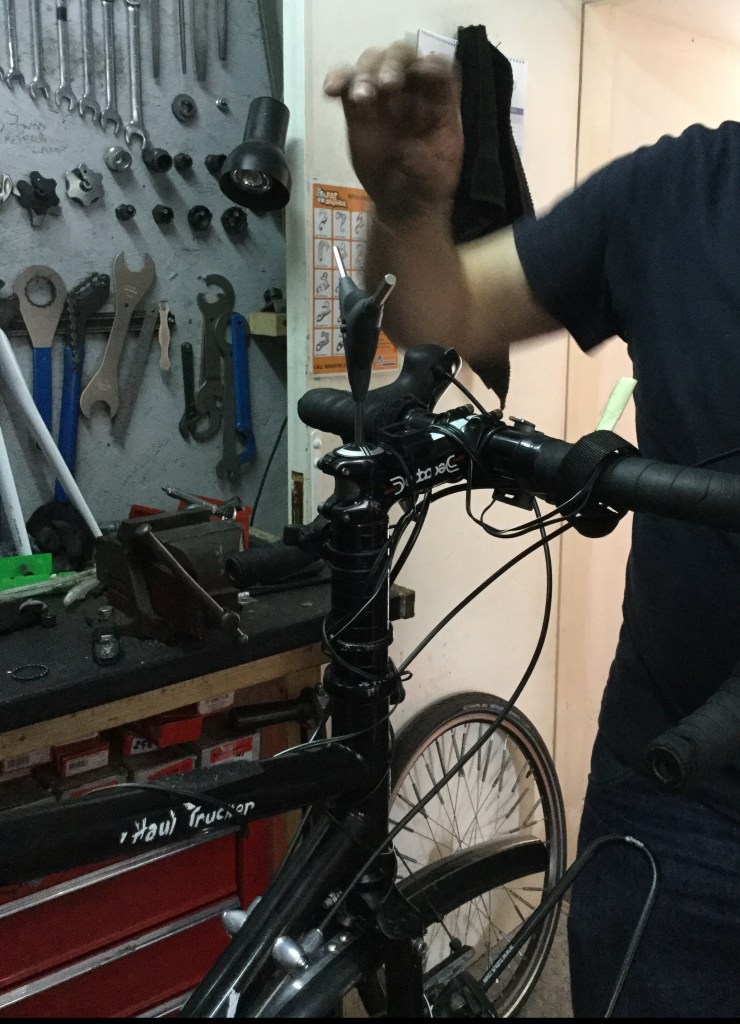
Putting my bicycle in a cardboard box so that I could get it on a plane, train or bus was actually relatively easy. I was really lucky to have to had the owner of Billy’s Bespoke Bicycle Co. show me how to do this before I left. I did take photos of the whole process to help remind me of how to do take the bicycle apart. I laminated the photos with instructions and this helped me tremendously.
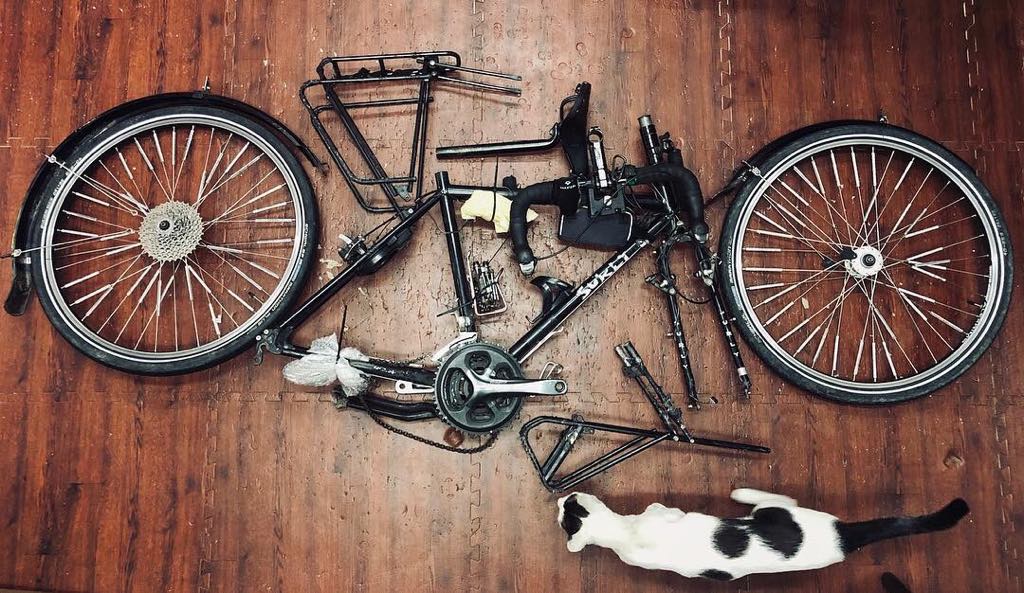
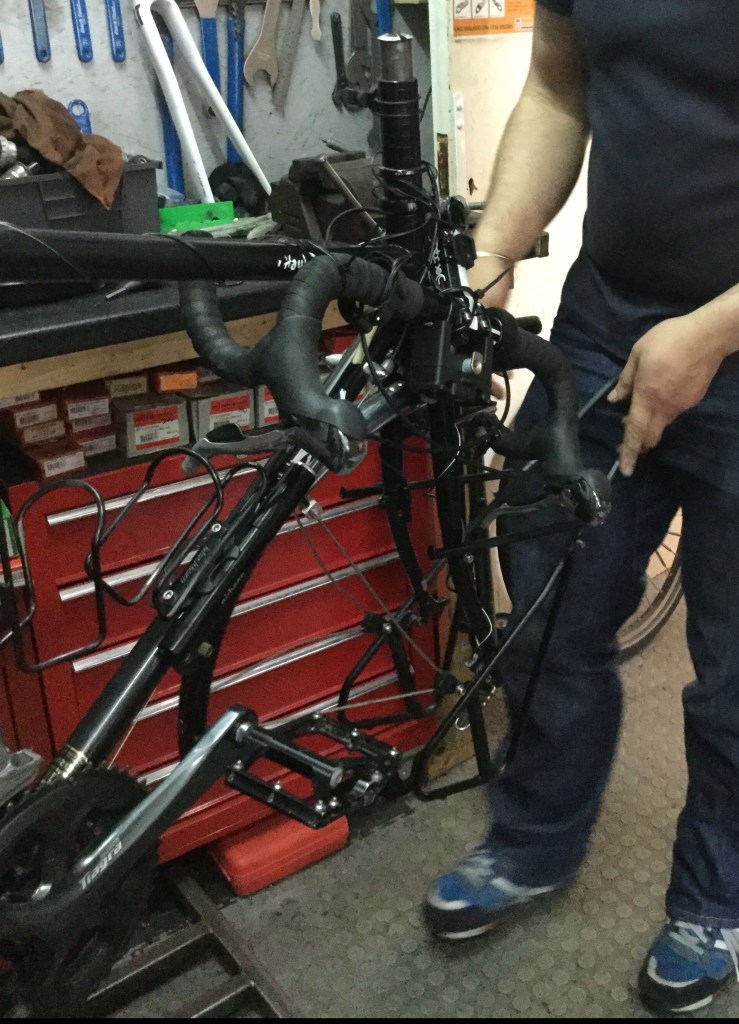
The picture above is my bicycle before she was put back together. The size of the box dictates how much you will have to dismantle the bike. If you look in the picture above you will see that as well as taking the front wheel, front rack and mudguard off I also had to take the rear wheel, rear rack, rear mudguard and derailleur off because the box was very small, this was actually the smallest box that I used for the whole tour. The box was originally used for a folding bicycle, so it was a small box. I generally found that most bicycle shops were happy to give me a box for free, although a few did charge a small fee. I would always ring / email bicycle shops in advance to check to see if they have any boxes as my biggest worry was not having a box for my flight. I never dismantled my bicycle at the airport, I would always do it the night before the flight because I really didn’t want the stress of cycling to the airport and trying to dismantle my bicycle whilst the clock is ticking.


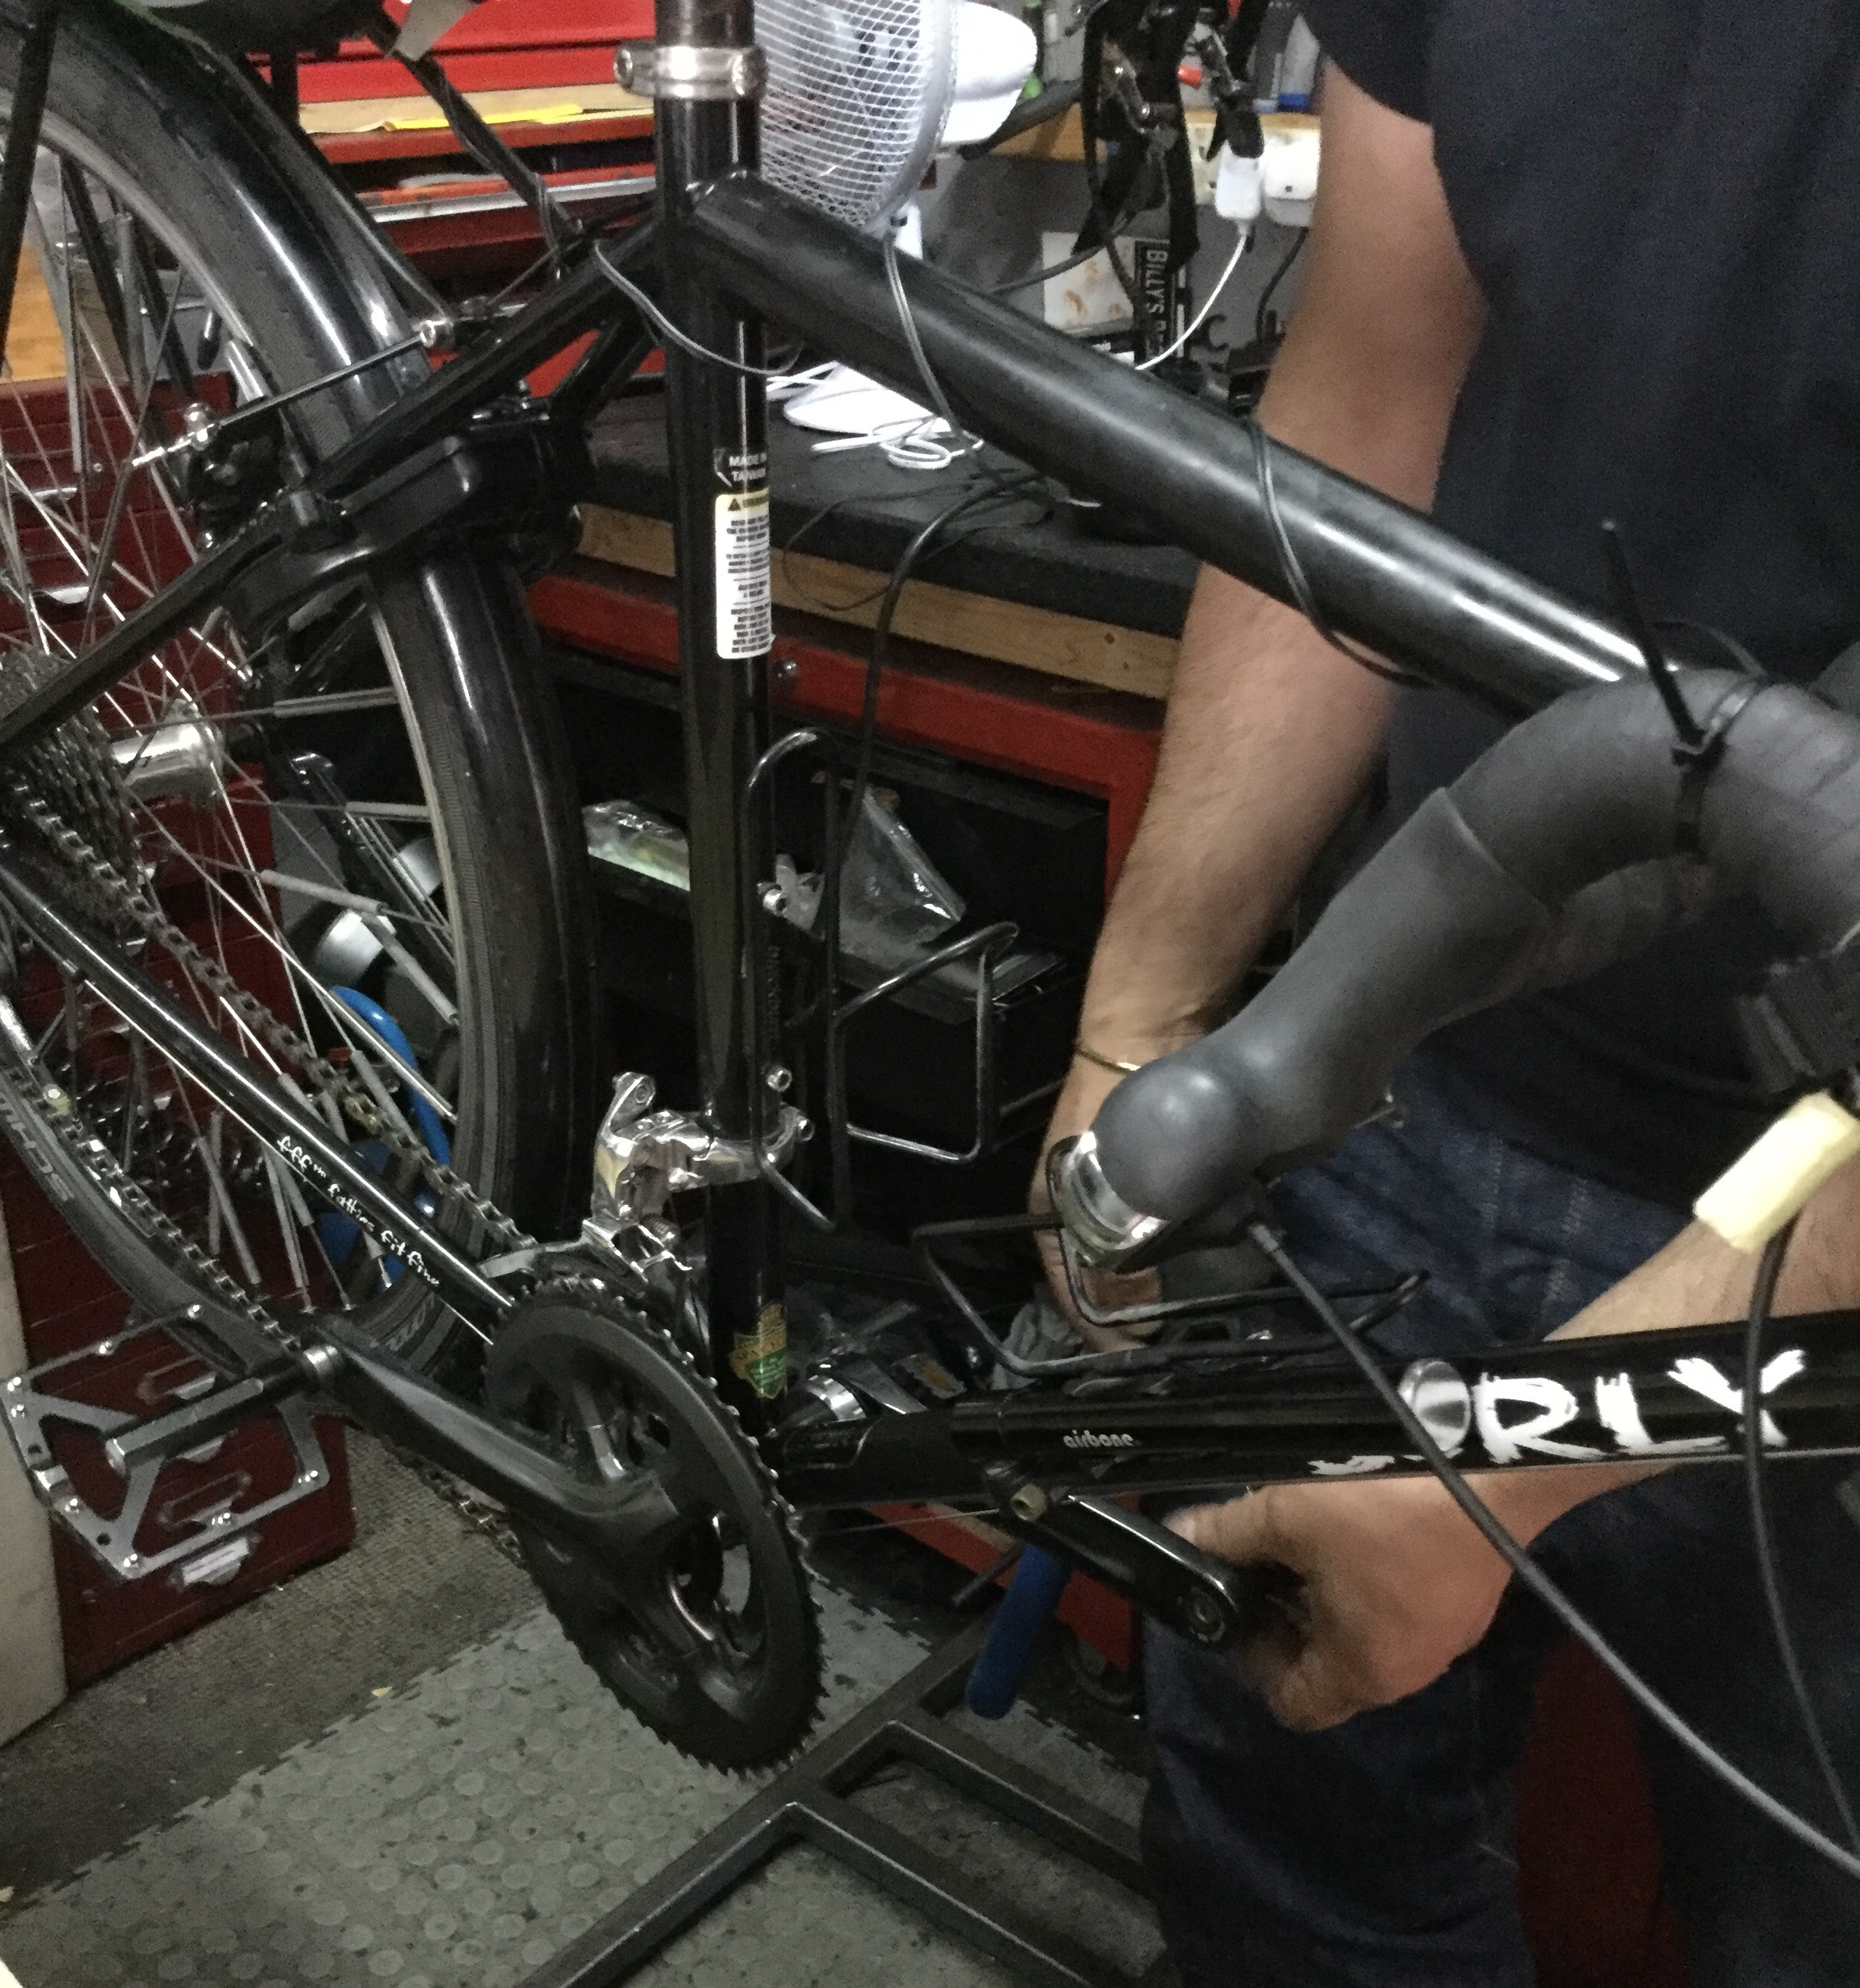
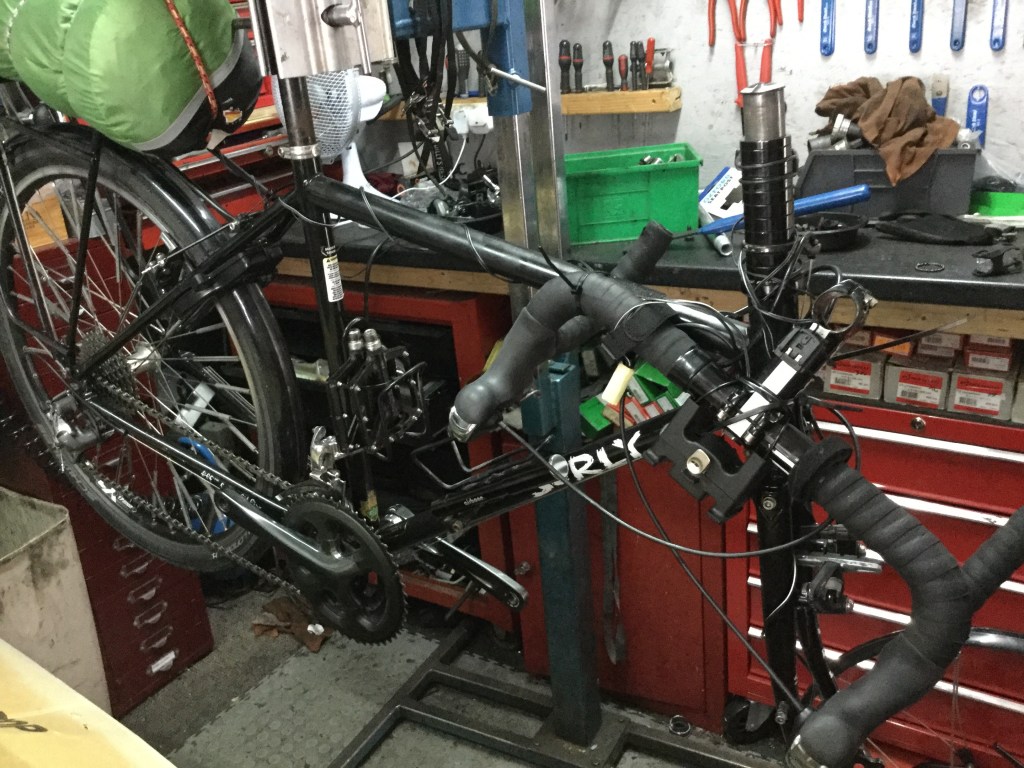
For larger boxes it was possible for me to leave the rear wheel, mudguard and rack on. I always checked with the airlines what was their maximum weight allowance and dimensions were for sports equipment, I didn’t want any nasty excess weight or size charges when checking in.
